
You have written a good post, a visitor reads half of it, and then they move the mouse towards the tab bar and leave. An exit-intent popup gets one more chance to keep them: a short offer or sign-up box that appears just as they are about to go. This guide shows how to add an exit-intent popup in WordPress for free, with no coding and no theme edits.
What an exit-intent popup is (and when it helps)
Exit intent means the popup is triggered by the visitor’s behaviour, not by a timer. On a desktop, the signal is the cursor moving out of the page towards the browser’s address bar or tabs. The popup appears at that moment, so people who were still reading are not interrupted.
It works best when you have something worth offering in exchange for a few seconds of attention:
- an email sign-up with a short reason to join, such as a weekly tip or a checklist
- a discount code for a shop or a booking page
- a download, such as a guide, template or price list
- a last pointer to your best post or your contact page
It works badly when it blocks the page for visitors who have only just arrived, or when it appears every single visit. The setup below avoids both.
What you need
A WordPress site running WordPress 5.0 or newer and PHP 8.0 or newer. We will use Flyerimage, a free popup plugin with a drag-and-drop editor, six starter templates (including one called Exit Intent), and the display rules covered below.
Step 1: Install the plugin
- In your WordPress admin, go to Plugins → Add New.
- Search for Flyerimage, then click Install Now and Activate.
- Open Flyerimage from the admin menu.
Step 2: Start from the Exit Intent template
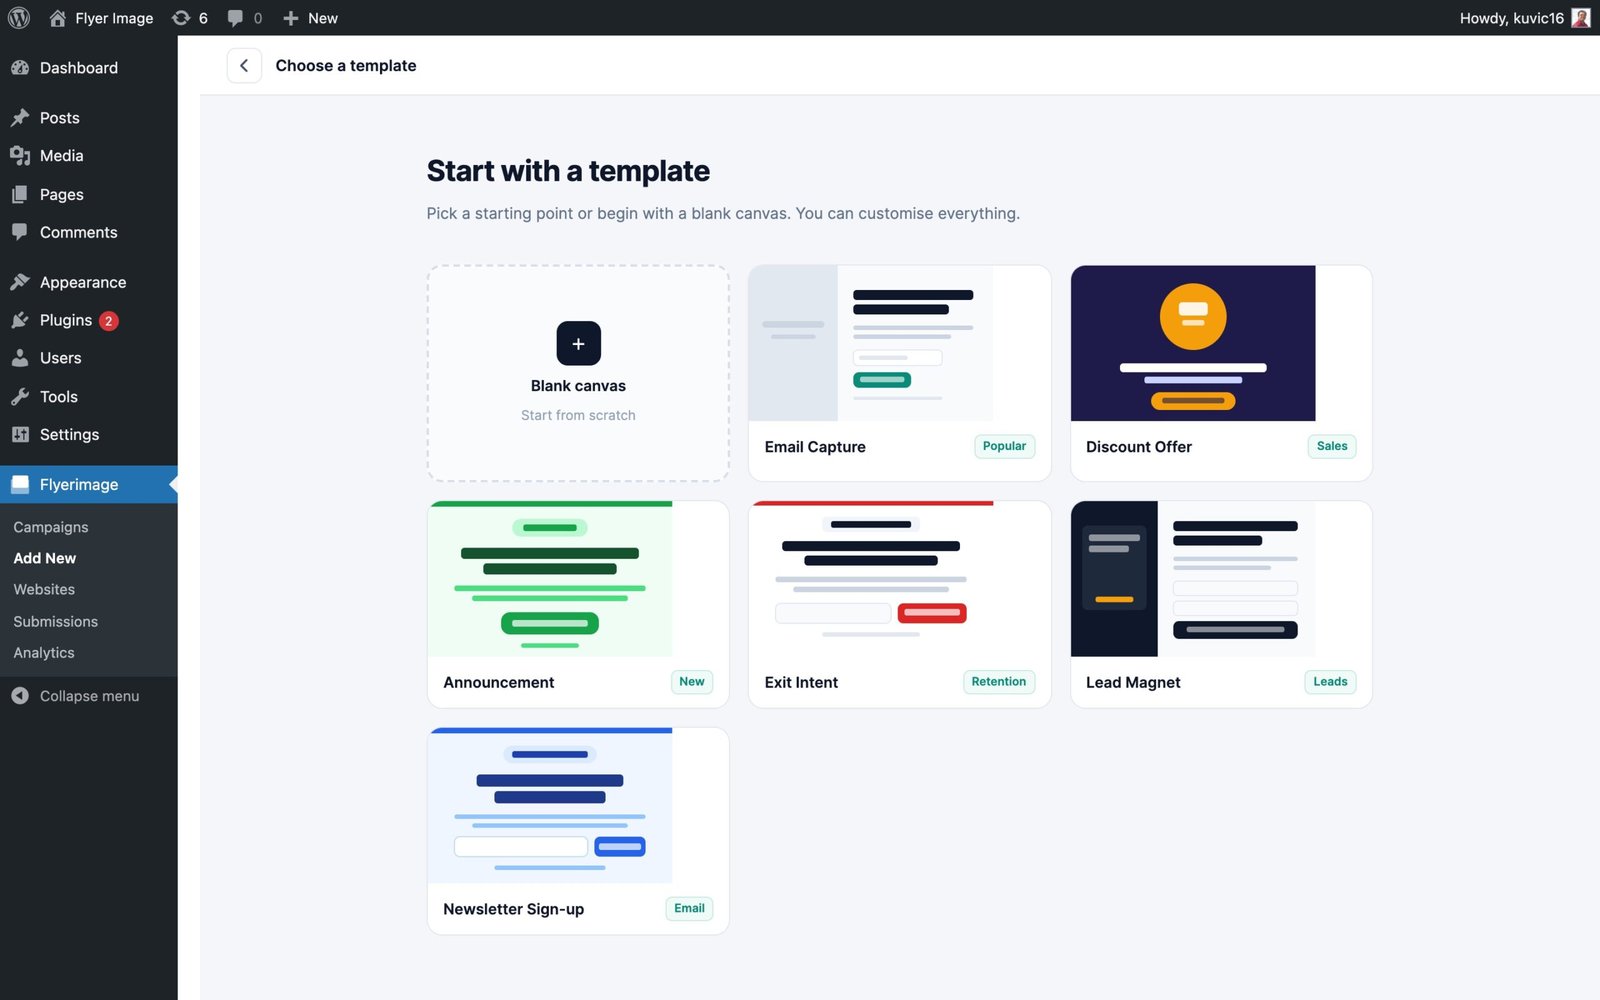
Create a new campaign and choose a starting point. You can begin with a blank canvas or one of six starter templates: Email Capture, Discount Offer, Announcement, Exit Intent, Lead Magnet and Newsletter Sign-up. Pick Exit Intent.
Step 3: Edit the message
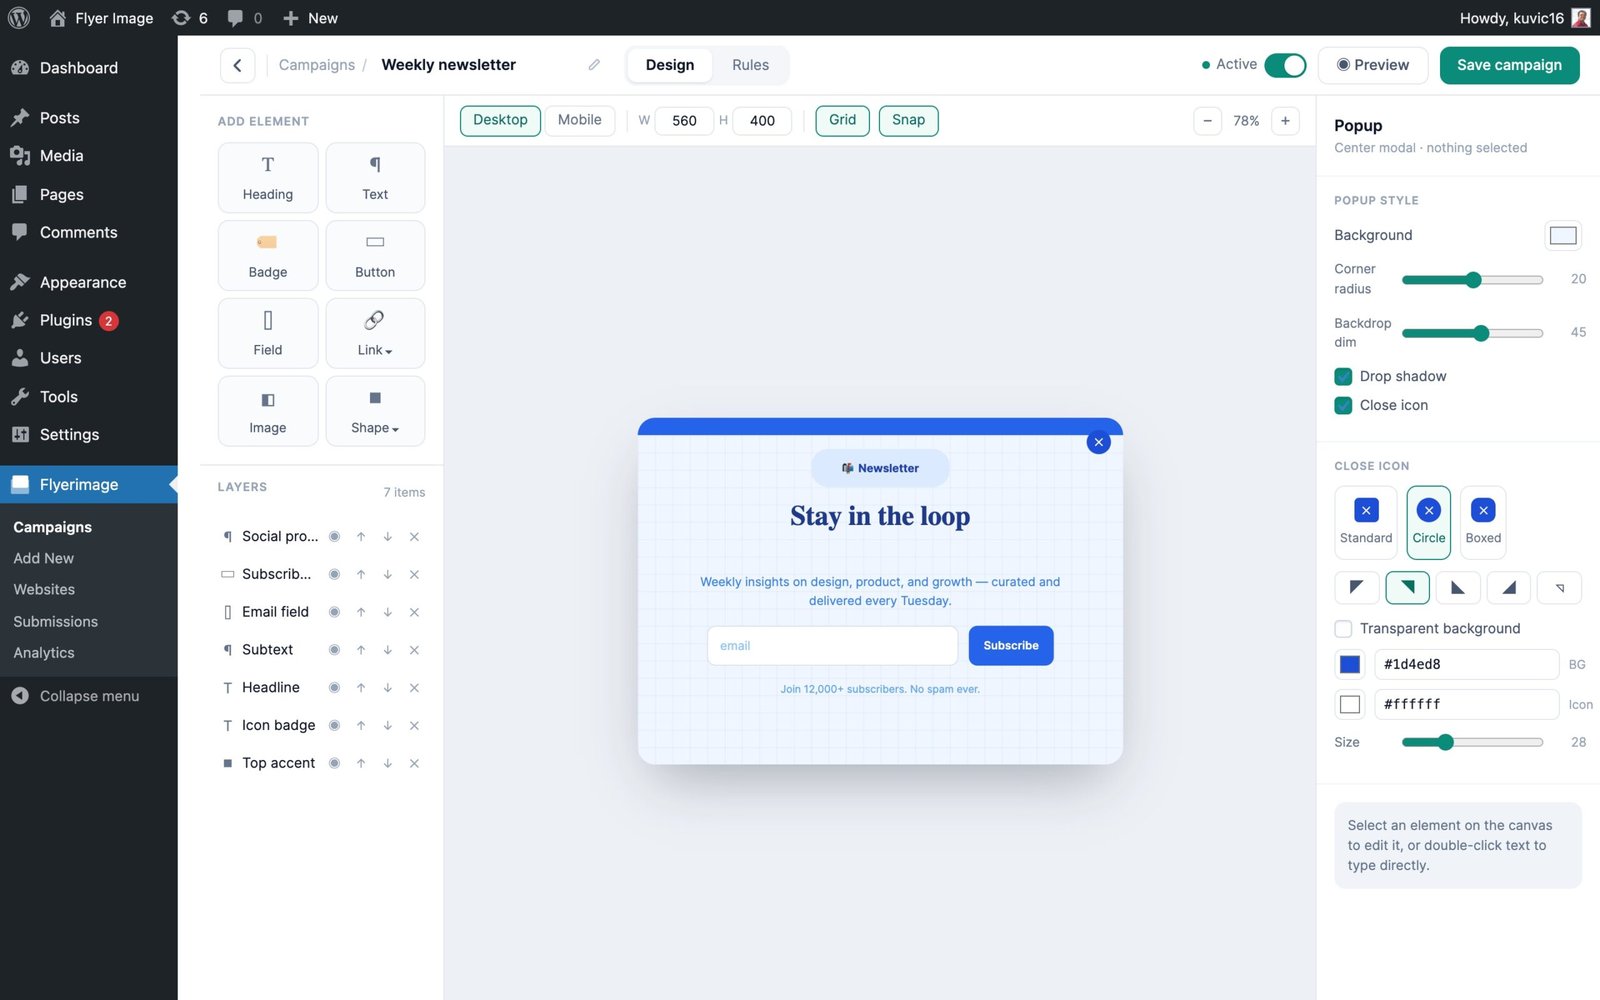
The editor is a drag-and-drop canvas. Click any element to change it, or add headings, text, badges, buttons, form fields, images and shapes. Keep it short:
- One promise in the headline. “Get our free setup checklist” beats “Subscribe to our newsletter”.
- One field if you can. An email address and a button is usually enough.
- An easy way out. A visible close button builds more goodwill than a hidden one.
There are separate desktop and mobile layouts, so check both before you move on.
Step 4: Set the exit-intent trigger and rules
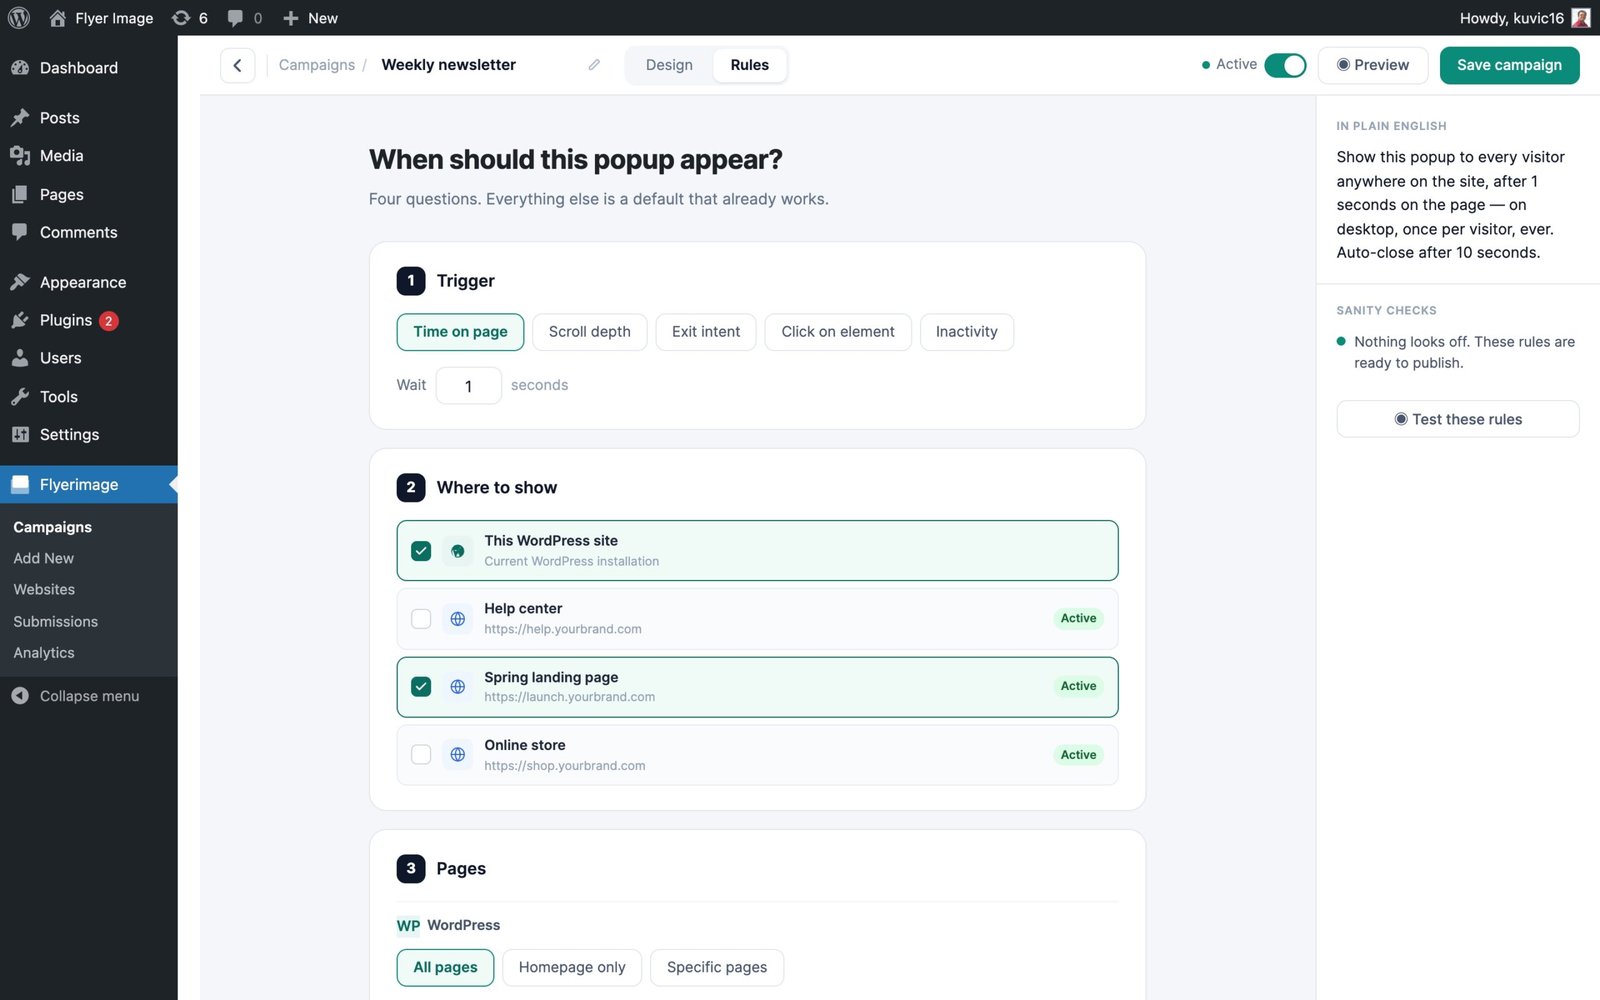
Open the Rules tab. The trigger options are time on page, scroll depth, exit intent, clicking a specific element, and inactivity. Choose Exit intent. Then set who sees it:
- Pages: all pages, the homepage only, or selected pages. Your best-read blog posts are a good place to start.
- Audience: first-time visitors, returning visitors, or everyone. First-time visitors are usually the people you want to capture.
- Devices: desktop, tablet and mobile. See the note on phones below.
- Frequency: once per visitor or every visit. Choose once per visitor unless you have a reason not to.
The Rules tab shows a plain-English summary of what you have set, which is a quick way to catch a mistake.
Step 5: Save, activate and test
- Save the campaign and make sure its status is Active.
- Open your site in a private or incognito window, so you count as a new visitor.
- Visit a page you selected, then move the cursor up towards the browser’s tab bar. The popup should appear.
- Fill in the form once to check that the submission arrives. Submissions are listed in the plugin and can be exported to CSV.
A note on phones
Exit intent depends on a mouse moving out of the window, and phones have no cursor. On mobile, popups are usually triggered by other behaviour instead. Flyerimage offers scroll depth and inactivity triggers for that, so you can run a second campaign for phone visitors, or limit the exit-intent campaign to desktop in the Rules tab.
Check whether it works
Flyerimage tracks views, unique visitors, clicks, closes, submissions and conversion rate for each campaign. Give a campaign a couple of weeks of traffic, then compare its conversion rate against your goal. If many people close it without clicking, try a clearer offer before you add more popups.
Common questions
Is it really free? The plugin’s WordPress.org listing describes Flyerimage as free, with no account or licence key needed.
Do I need to edit my theme? No. You set everything up in the plugin and the popup appears on the pages you choose.
Can I show the same popup on a non-WordPress site? Yes. Flyerimage can also run campaigns on Shopify, Webflow, Wix, Squarespace, Framer, Carrd and static HTML sites using a one-line embed tag.
Try it
Install Flyerimage from WordPress.org, or read more on the Flyerimage product page. If you are still choosing a plugin, our roundup of popup plugins compares the options, and this post explains why we built Flyerimage the way we did.